So after we removed the carpet in the upstairs, we were left with hardwood floors that looked like this. Dark, damaged, and paint-splattered. Luckily, they were in decently good condition otherwise and just needed to be sanded and refinished. So today, my law school roommate came to town and helped me sand two of the four upstairs rooms and the hallway. Here is a before:

I rented the drum sander from Home Depot for a day for $58. The floor is pine, and so they recommended using 60 grit and 80 grit sandpaper. Each 11x11ft room took only one $7.95 piece (although to be safe I would recommend 1.5 pieces per room). The drum sander does not get to the corners or edge of the wall, so I will have to use my dad's edge sander to do that on another day.
Alaina was great with the sander! Honestly, it was pretty easy to use and almost felt like a vacuum. The best tip is to not let the sander drum sit on the floor. It has to be moving all the time or you will ding and dent the ground. Check out the picture on the right. The change was so drastic!

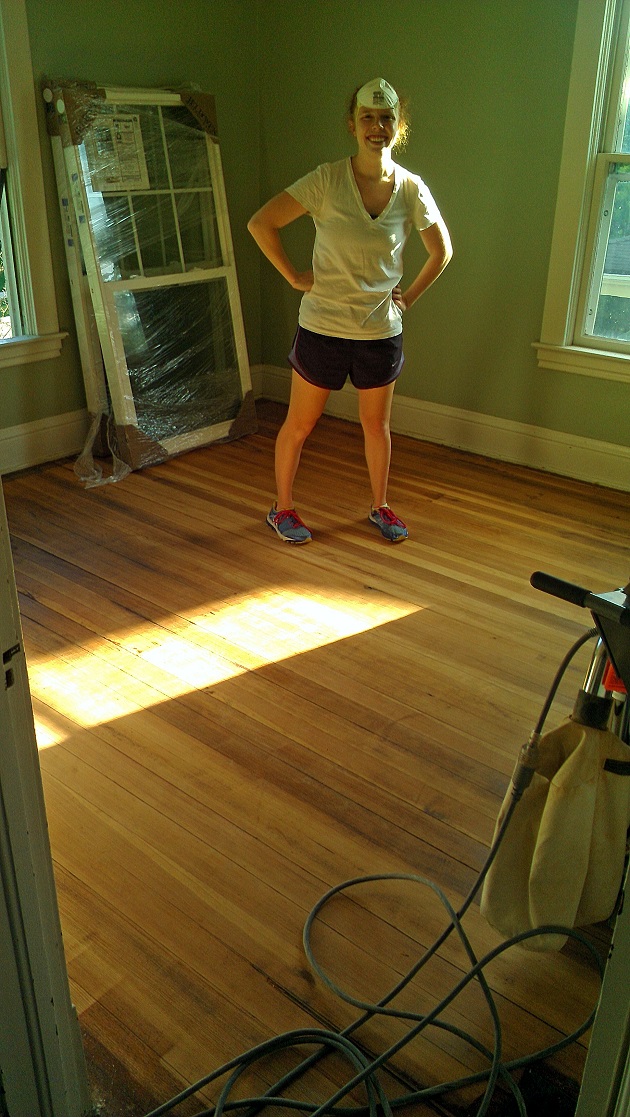
Clean floors woo hoo! Thats me posing on the right with my crazy hair and safety mask.

Here is the floor after we did both grits of sandpaper.

Another shot.

The guest room floor got sanded and looks great!
We sanded the hallway. It was pretty difficult because the hallway floor is uneven due to it being such an old house and it settling. But we got a good first round of sanding and I will have to use the hand sander more here.

Final shot of the guest room!

We still have two more rooms to do, but I'm glad we got these tackled today because that means I am one step closer to moving in! It took roughly 4-5 hours to get all of this done. Once you get used to using the sander, you get on a roll and it goes faster. We also learned that we could go over spots a few times and go against the grain, as long as our last pass over the wood was going with the grain.
Have you ever sanded? Any tips for the last 2 rooms?


No comments