Showing posts with label renovations. Show all posts

Dining room transformation

The dining room renovation is nearly complete. It is not yet decorated, but that part may take awhile. The dining room took forever to get finished because not only was there water damage in the ceiling that needed fixing, but there was also a set back where we had to take down the ceiling to change the pipes to be up to code. 
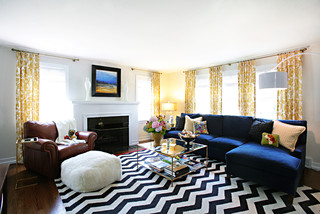

BEFORE:
These two pictures are from when we first got the house; untouched color and everything.
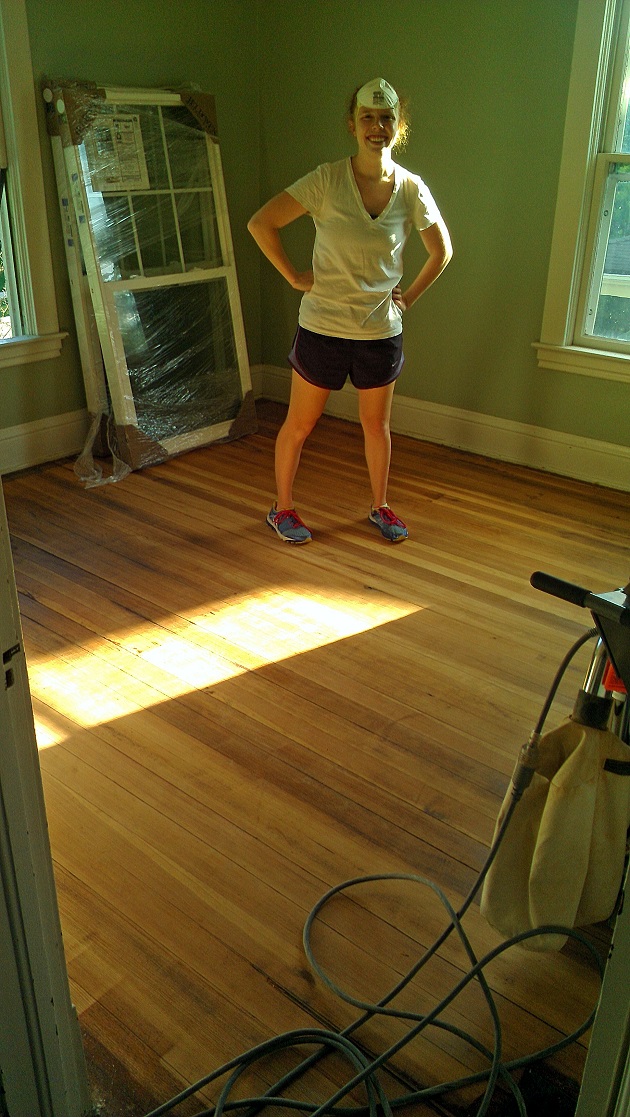

DURING RENO:

It became clear that the ceiling would need major work. It was wavy, cracks, uneven--just bad. My dad took on the project himself (I helped here and there where I could). We also traded out the old knob and tube electric for modern electricity ;)


After we got the ceiling drywall up for the second time, it was time to mud the drywall and paint. With the holidays, this project took longer than expected (common theme?) and so this was the view to the dining room for awhile.
The place was sealed off and paper on the floor. I think the dining room had paper on the floor for... 5 months? It was a long and never ending project

AFTER:
Over the past two weeks, we finished painting the room and hung the chandelier. The room looks great. I spent some time cleaning the floors too.

Decorating has not really started yet in this room and I think it will be awhile, but it's nice to have somewhere to sit and eat!

Two girls, one floor sander

So after we removed the carpet in the upstairs, we were left with hardwood floors that looked like this. Dark, damaged, and paint-splattered. Luckily, they were in decently good condition otherwise and just needed to be sanded and refinished. So today, my law school roommate came to town and helped me sand two of the four upstairs rooms and the hallway.  Here is a before: 

I rented the drum sander from Home Depot for a day for $58. The floor is pine, and so they recommended using 60 grit and 80 grit sandpaper. Each 11x11ft room took only one $7.95 piece (although to be safe I would recommend 1.5 pieces per room). The drum sander does not get to the corners or edge of the wall, so I will have to use my dad's edge sander to do that on another day.

Alaina was great with the sander! Honestly, it was pretty easy to use and almost felt like a vacuum. The best tip is to not let the sander drum sit on the floor. It has to be moving all the time or you will ding and dent the ground. Check out the picture on the right. The change was so drastic!

Clean floors woo hoo! Thats me posing on the right with my crazy hair and safety mask.

Here is the floor after we did both grits of sandpaper.

Another shot.

The guest room floor got sanded and looks great!

We sanded the hallway. It was pretty difficult because the hallway floor is uneven due to it being such an old house and it settling. But we got a good first round of sanding and I will have to use the hand sander more here.

Final shot of the guest room!

We still have two more rooms to do, but I'm glad we got these tackled today because that means I am one step closer to moving in! It took roughly 4-5 hours to get all of this done. Once you get used to using the sander, you get on a roll and it goes faster. We also learned that we could go over spots a few times and go against the grain, as long as our last pass over the wood was going with the grain.

Have you ever sanded? Any tips for the last 2 rooms?

Floors and demolition

I am finally moved out of my college apartment and done studying (for now...knock on wood!).  I'm living with my parents right now because Camp Ave is uninhabitable at the moment.  My parents have done a ton of work, but every little thing takes a lot of time and energy so it is still slow coming. 

The past few days I have been working on the floors upstairs.  We ripped out the carpet in two of the four bedrooms (other two will be ripped up soon). The wood underneath is beautiful. It is a darker tone than the downstairs and wider planks. Unfortunately, the previous owners decided to paint the walls without covering the wood floors, and there are paint splatters everywhere that will have to be dealt with. There are also a million staples and nail beds that we have had the joy of pulling up over the past few days. 
    (Below: Paint on the floor, nail beds, staple remove tools, oh my!)
 (Below: My loyal companion Gracie)

Also on the agenda is the room we refer to as "the brown room" due to the ugly brown carpet and heinous brown shelving unit.  My parents ripped out the carpet in there while I was gone, and I spent the day yesterday taking out the staples and nail beds from the carpet. 


I also decided to try to channel my inner-rehab-addict and take down that awful shelf. I made sure to wear my coolest safety goggles. 

The result? Not very far but better than nothing. In my defense, this thing feels like it's made out of steel! I will probably need help finishing this job.

My coffee table

Bought this brass and glass coffee table from a nearby moving sale this morning. It was supposed to come with an entire set, but I convinced them to sell me this piece separately. I'm pretty excited about it! (My parents are not going to be excited when they have to move all of my furniture purchases home...)
And of course, some inspiration photos below. I think adding some colorful books/magazines and flowers will really bring life to it! 


(all photos found on pinterest.com).

New attic windows

My dad sent me a photo of the house with the new windows installed in the attic and the trim painted down by the porch.  Not a huge change but figured I'd document it. 

Front door temporary facelift

I have a few photos of the progress that is being made on the front porch. My parents have power washed it, primed and painted the door trim, and added a mailbox, some flowers, temporary blinds, and a wreath. Even with these small changes, it looks a million times better. 

BEFORE

NOW:

Mirror mirror on the bathroom wall

So the single upstairs bathroom at the house is okay but leaves a lot to be desired. On the plus side, there is a new vanity, hardwood floors, white tiles in the shower area, and a semi-new toilet. On the negative side, there is a gaping hole in the wall, no mirror, a weird/gross toilet seat made of fabric (eew), and a dirty tub. 

(Bathroom)

I found some inspiration online and bought this mirror, pictured below, from Gordmans for only $34! What a steal. My parents hung the mirror up so that they had at least one mirror in the house. Rest assured, that hole in the wall will be filled in and the walls will be painted. This was just a temporary thing. But it is still exciting that there is PROGRESS. 
(My parents texted me: "Bathroom reno finished!! ;) hehe")

Here are some pictures I used as inspiration for the bathroom. I think I found the exact mirror as from the pictures below, although she apparently got hers from Lowes or Home Depot. 
Loving the greige walls with the crisp white towels and shower curtain. 

I will definitely need some over-the-commode storage. :)